Setting up your WiFi Sensor
To connect your Vape Guardian device, you may need specific network permissions. Get the full networking specs here. (PDF. 36.1MB)

Step 1: Connecting the Hardware
Ensure your device is mains connected with the supplied plug. And that your sensor is connected to oyour PC via the USB-C port.
FAQs
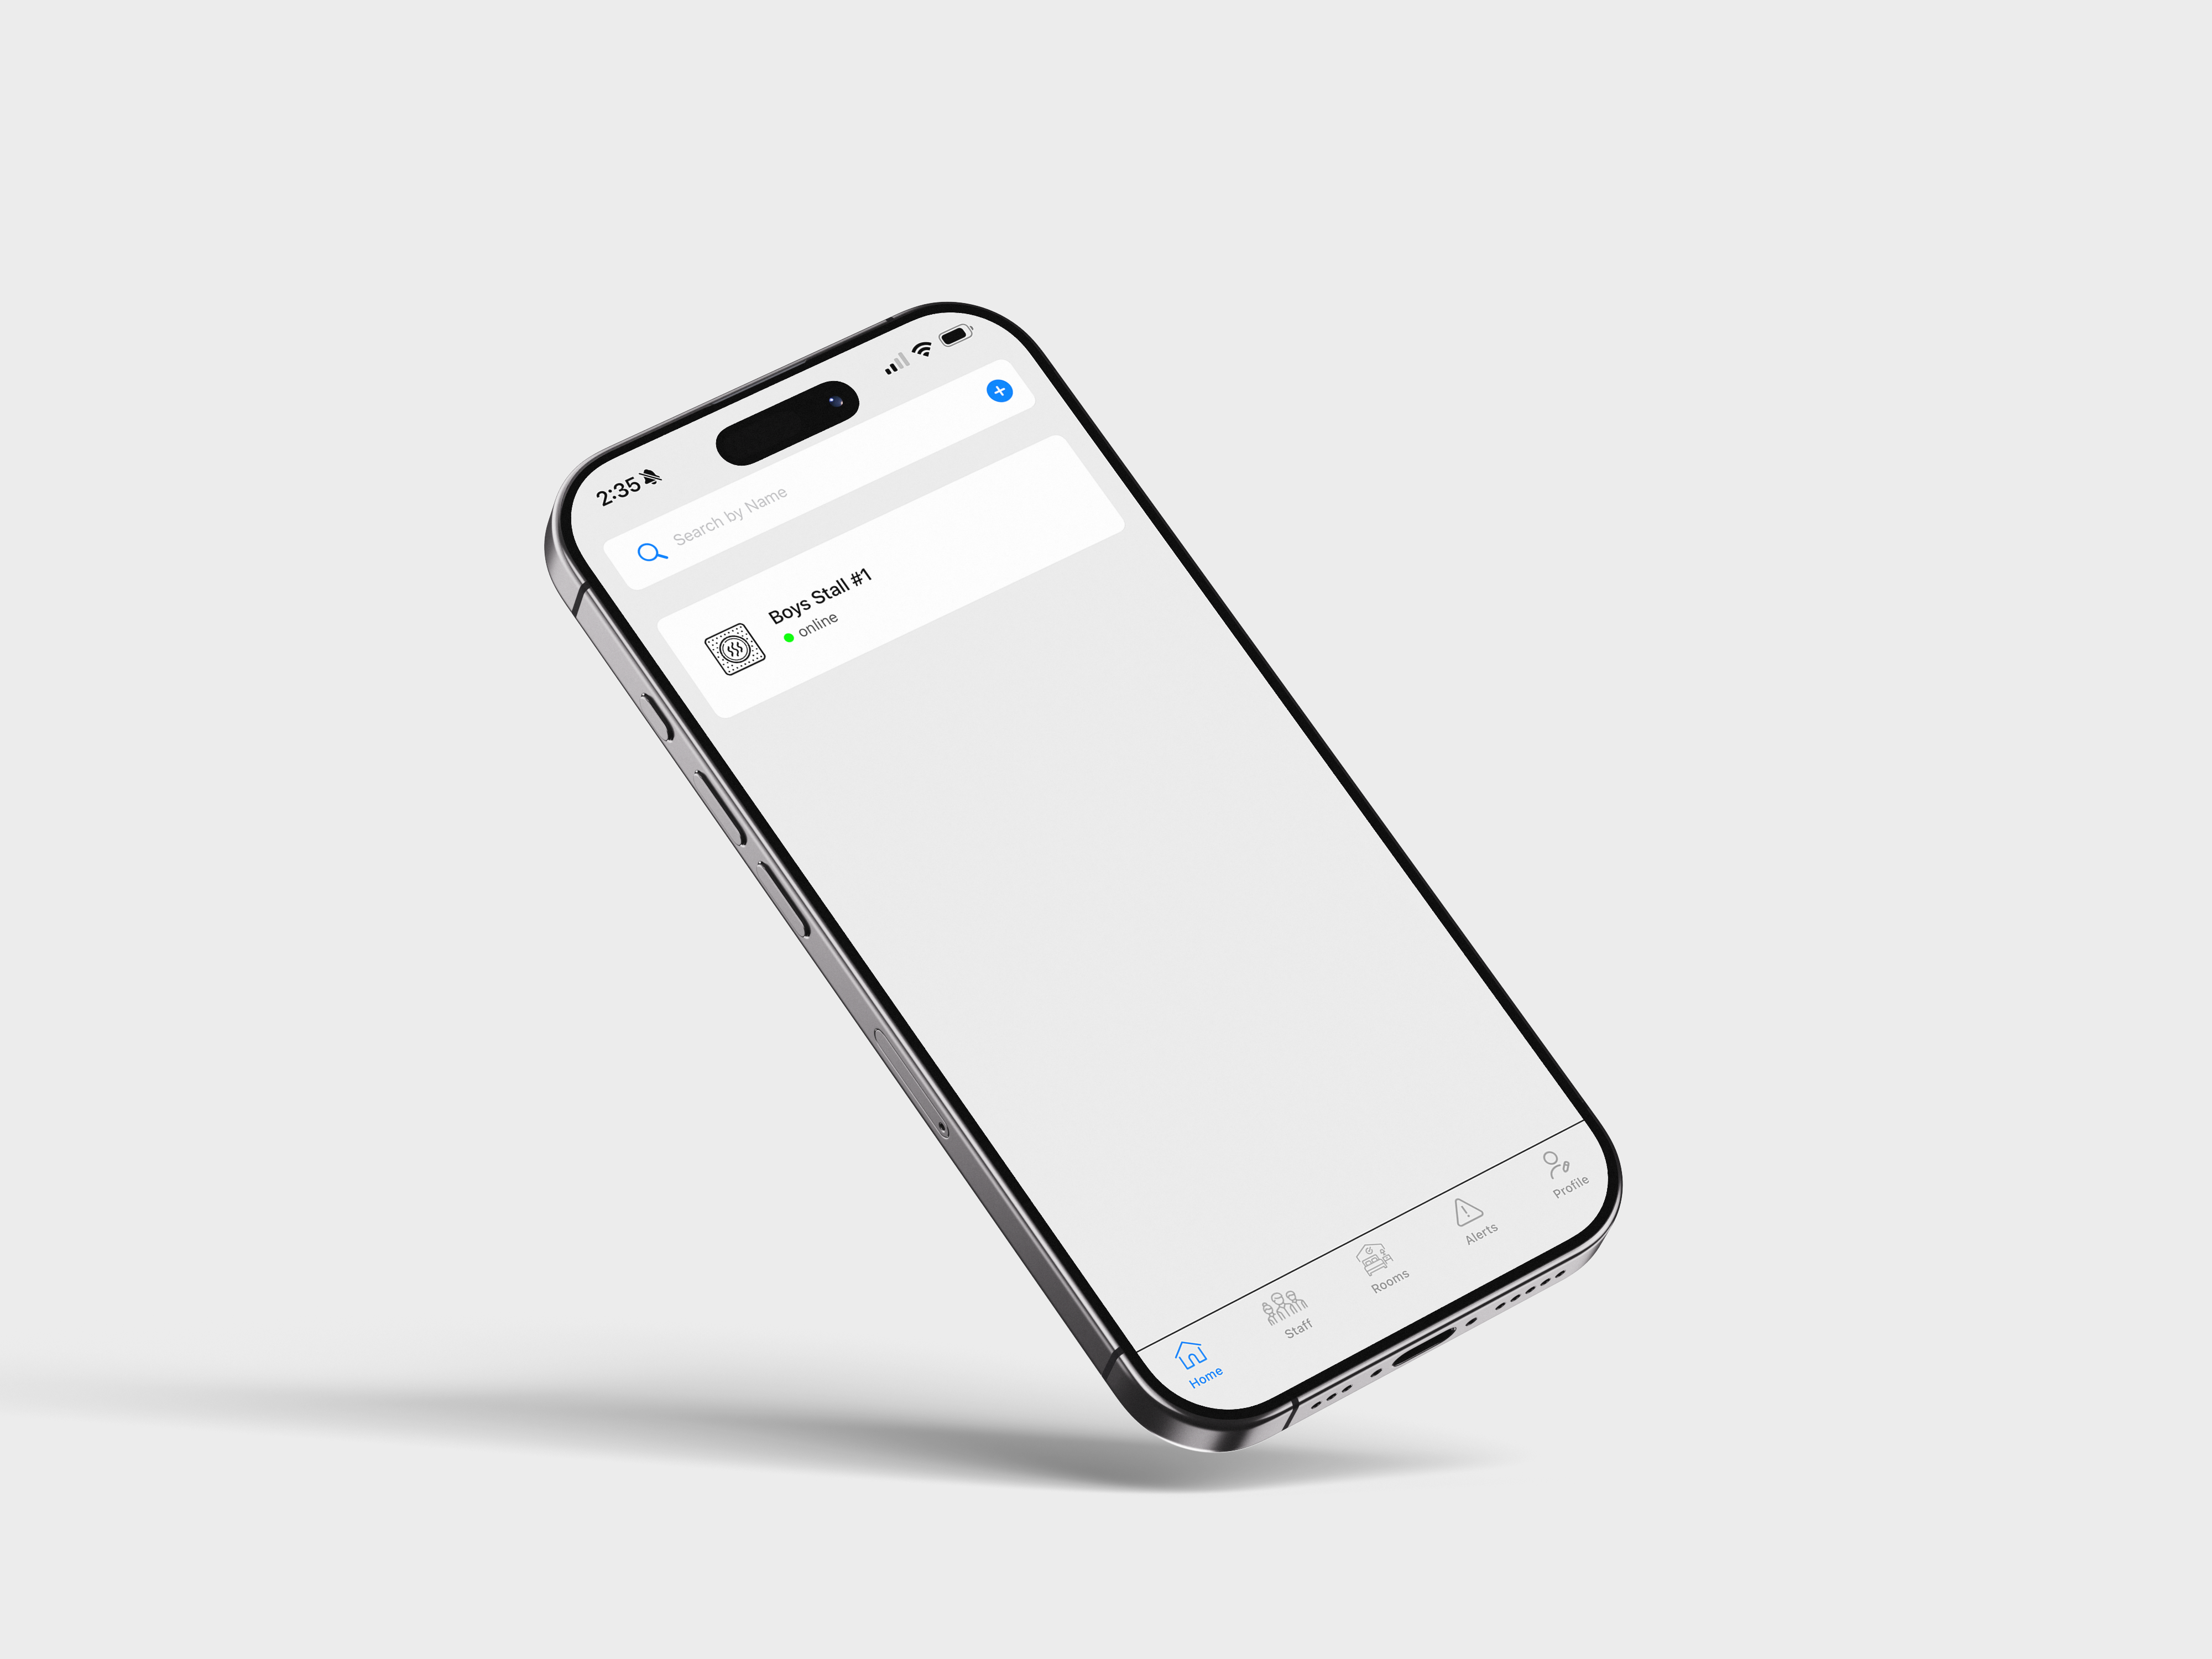
I finished setup but don’t see the device in the app after ~60–90 seconds, what should I try?
- Make sure the sensor has steady power (no low-power USB adapter or hub).
- Double-check you picked the correct Wi-Fi and password.
- Move the sensor closer to the access point for the first join.
- If your network uses MAC filtering, have IT whitelist the sensor’s MAC.
- Unplug/replug the sensor and repeat “Add Device → Wi-Fi.”
If it still doesn’t appear, send your site name and device serial/MAC to enquiries@vapeguardian.com and we’ll help.
The blue light isn't showing, what can I do?
Not seeing the blue light? Progress anyway and the device will still most likely connect with no issues.
Provided there is a small red-light inside the device, then it is receiving power and can connect.
If you have any concerns, email enquiries@vapeguardian.com with your site name and the device serial/MAC, and we’ll sort it.
Can I plug the device into any USB port on my computer?
Yes - any standard, data-capable USB port will work (USB-A, or USB-C with an adapter).
Tips for a smooth setup
- Use a data USB cable (some cheap cables are charge-only).
- Prefer a direct port on the computer over an unpowered hub.
- If the app doesn’t detect the device, try a different port and re-open the Add Device screen.
- On desktops, the rear I/O ports are usually the most reliable/powered.
- Laptops: avoid “always-on/low-power” charging ports during setup.
- Mobile/tablet: use a compatible OTG/USB-C adapter.
After plugging in, select the correct USB entry in the app (unplug/replug to see which entry disappears/reappears if you’re unsure).

Step 2: Installing the software
The button below will download the install file for the Vape Guardian PC app via the Microsoft store.
FAQs
The exe. file won't download?
If you're having trouble with getting a hold of the install file though the link above - drop us an email and we can share another method of downloading it. Please email enquiries@vapeguardian.com
Is there a MacOS version?
It is not currently available, but the team are working to have it available on the MacOS App Store very soon.
I do not have permissions to install the file?
Please speak with your PC's administrator about gaining permissions to install this software.

Step 3: Connecting WiFi
Now it is time to open up the app and get your device linked to the WiFi network.
FAQs
My wifi network isn't showing in the app?
There's a quick fix for this, please watch this video: https://youtu.be/GNmWLHT1cAw
If the issues persists:
* Make sure you’re within range of your router.
* Ensure the network isn’t hidden (SSID broadcast enabled).
* If your network is 5 GHz-only, enable 2.4 GHz or dual-band on your router for best compatibility.
* Restart the app and try again.
My USB ports aren't showing in the app?
This is because your machine is missing a driver that will recognise all of the USB ports. Please install this software, then re-start the Vape Guardian program and your ports will all be visible.
https://www.wch-ic.com/downloads/ch341ser_exe.html
I can't login - because I forgot my username / password?
Please email us at enquiries@vapeguardian.com and a member of the team will be able to help you locate your credentials.
How do I identify which USB port my sensor is connected to?
1. Open the Add Device flow in the Vape Guardian app until you see the list of available USB ports.
2. Unplug the sensor: note which entry disappears from the list.
3. Plug it back in: select the entry that reappears—that’s your sensor.
4. If you see multiple similar entries: repeat the unplug/replug to confirm, then pick the one that consistently disappears/reappears with the sensor.
5. No change in the list?
- Try a different USB port on your computer/phone.
- Use a data-capable USB cable (some are charge-only).
- Avoid unpowered hubs; plug directly into the device.
6. Name clues (optional): look for entries like “USB Serial,” “CDC,” “CP210x,” “CH340,” or similar.
7. Still unsure? Email enquiries@vapeguardian.com with your OS, site name, and device serial/MAC—we’ll help you match it quickly.
Can I use any WiFi network?
No. You must ensure that the network details that you provide are the same as those that the device will be connected to when in situ.
Can we use any WiFi frequency band?
We recommend 2.4GHZ because of it's lower energy, reach and for how robust it's signal is.
Next..
Next up, we’ll switch to the Vape Guardian mobile app. Tap the link below for a quick, step-by-step guide on what to do.