Setting up your 4G Sensor
Your device ships with the SIM card pre-installed. All that’s left is to connect it to your account and you’re ready to go.

Step 1: Connections
Ensure your device is mains connected with the supplied plug. And that your sensor is connected to oyour PC via the USB-C port.
FAQs
The exe. file won't download?
If you're having trouble with getting a hold of the install file though the link above - drop us an email and we can share another method of downloading it. Please email enquiries@vapeguardian.com
Is there a MacOS version?
It is not currently available, but the team are working to have it available on the MacOS App Store very soon.
I do not have permissions to install the file?
Please speak with your PC's administrator about gaining permissions to install this software.

Step 2: Installing the software
The button below will download the install file for the Vape Guardian PC app from the Microsoft store.
FAQs
I can't login - because I forgot my username / password?
Please email us at enquiries@vapeguardian.com and a member of the team will be able to help you locate your credentials.
How do I identify which USB port my sensor is connected to?
1. Open the Add Device flow in the Vape Guardian app until you see the list of available USB ports.
2. Unplug the sensor: note which entry disappears from the list.
3. Plug it back in: select the entry that reappears—that’s your sensor.
4. If you see multiple similar entries: repeat the unplug/replug to confirm, then pick the one that consistently disappears/reappears with the sensor.
5. No change in the list?
- Try a different USB port on your computer/phone.
- Use a data-capable USB cable (some are charge-only).
- Avoid unpowered hubs; plug directly into the device.
6. Name clues (optional): look for entries like “USB Serial,” “CDC,” “CP210x,” “CH340,” or similar.
7. Still unsure? Email enquiries@vapeguardian.com with your OS, site name, and device serial/MAC—we’ll help you match it quickly.
Do I need to install the SIM card?
No. Our team have already installed the SIM card and linked it to your account. All you need to do is follow the simple video instructions and your device will be online.

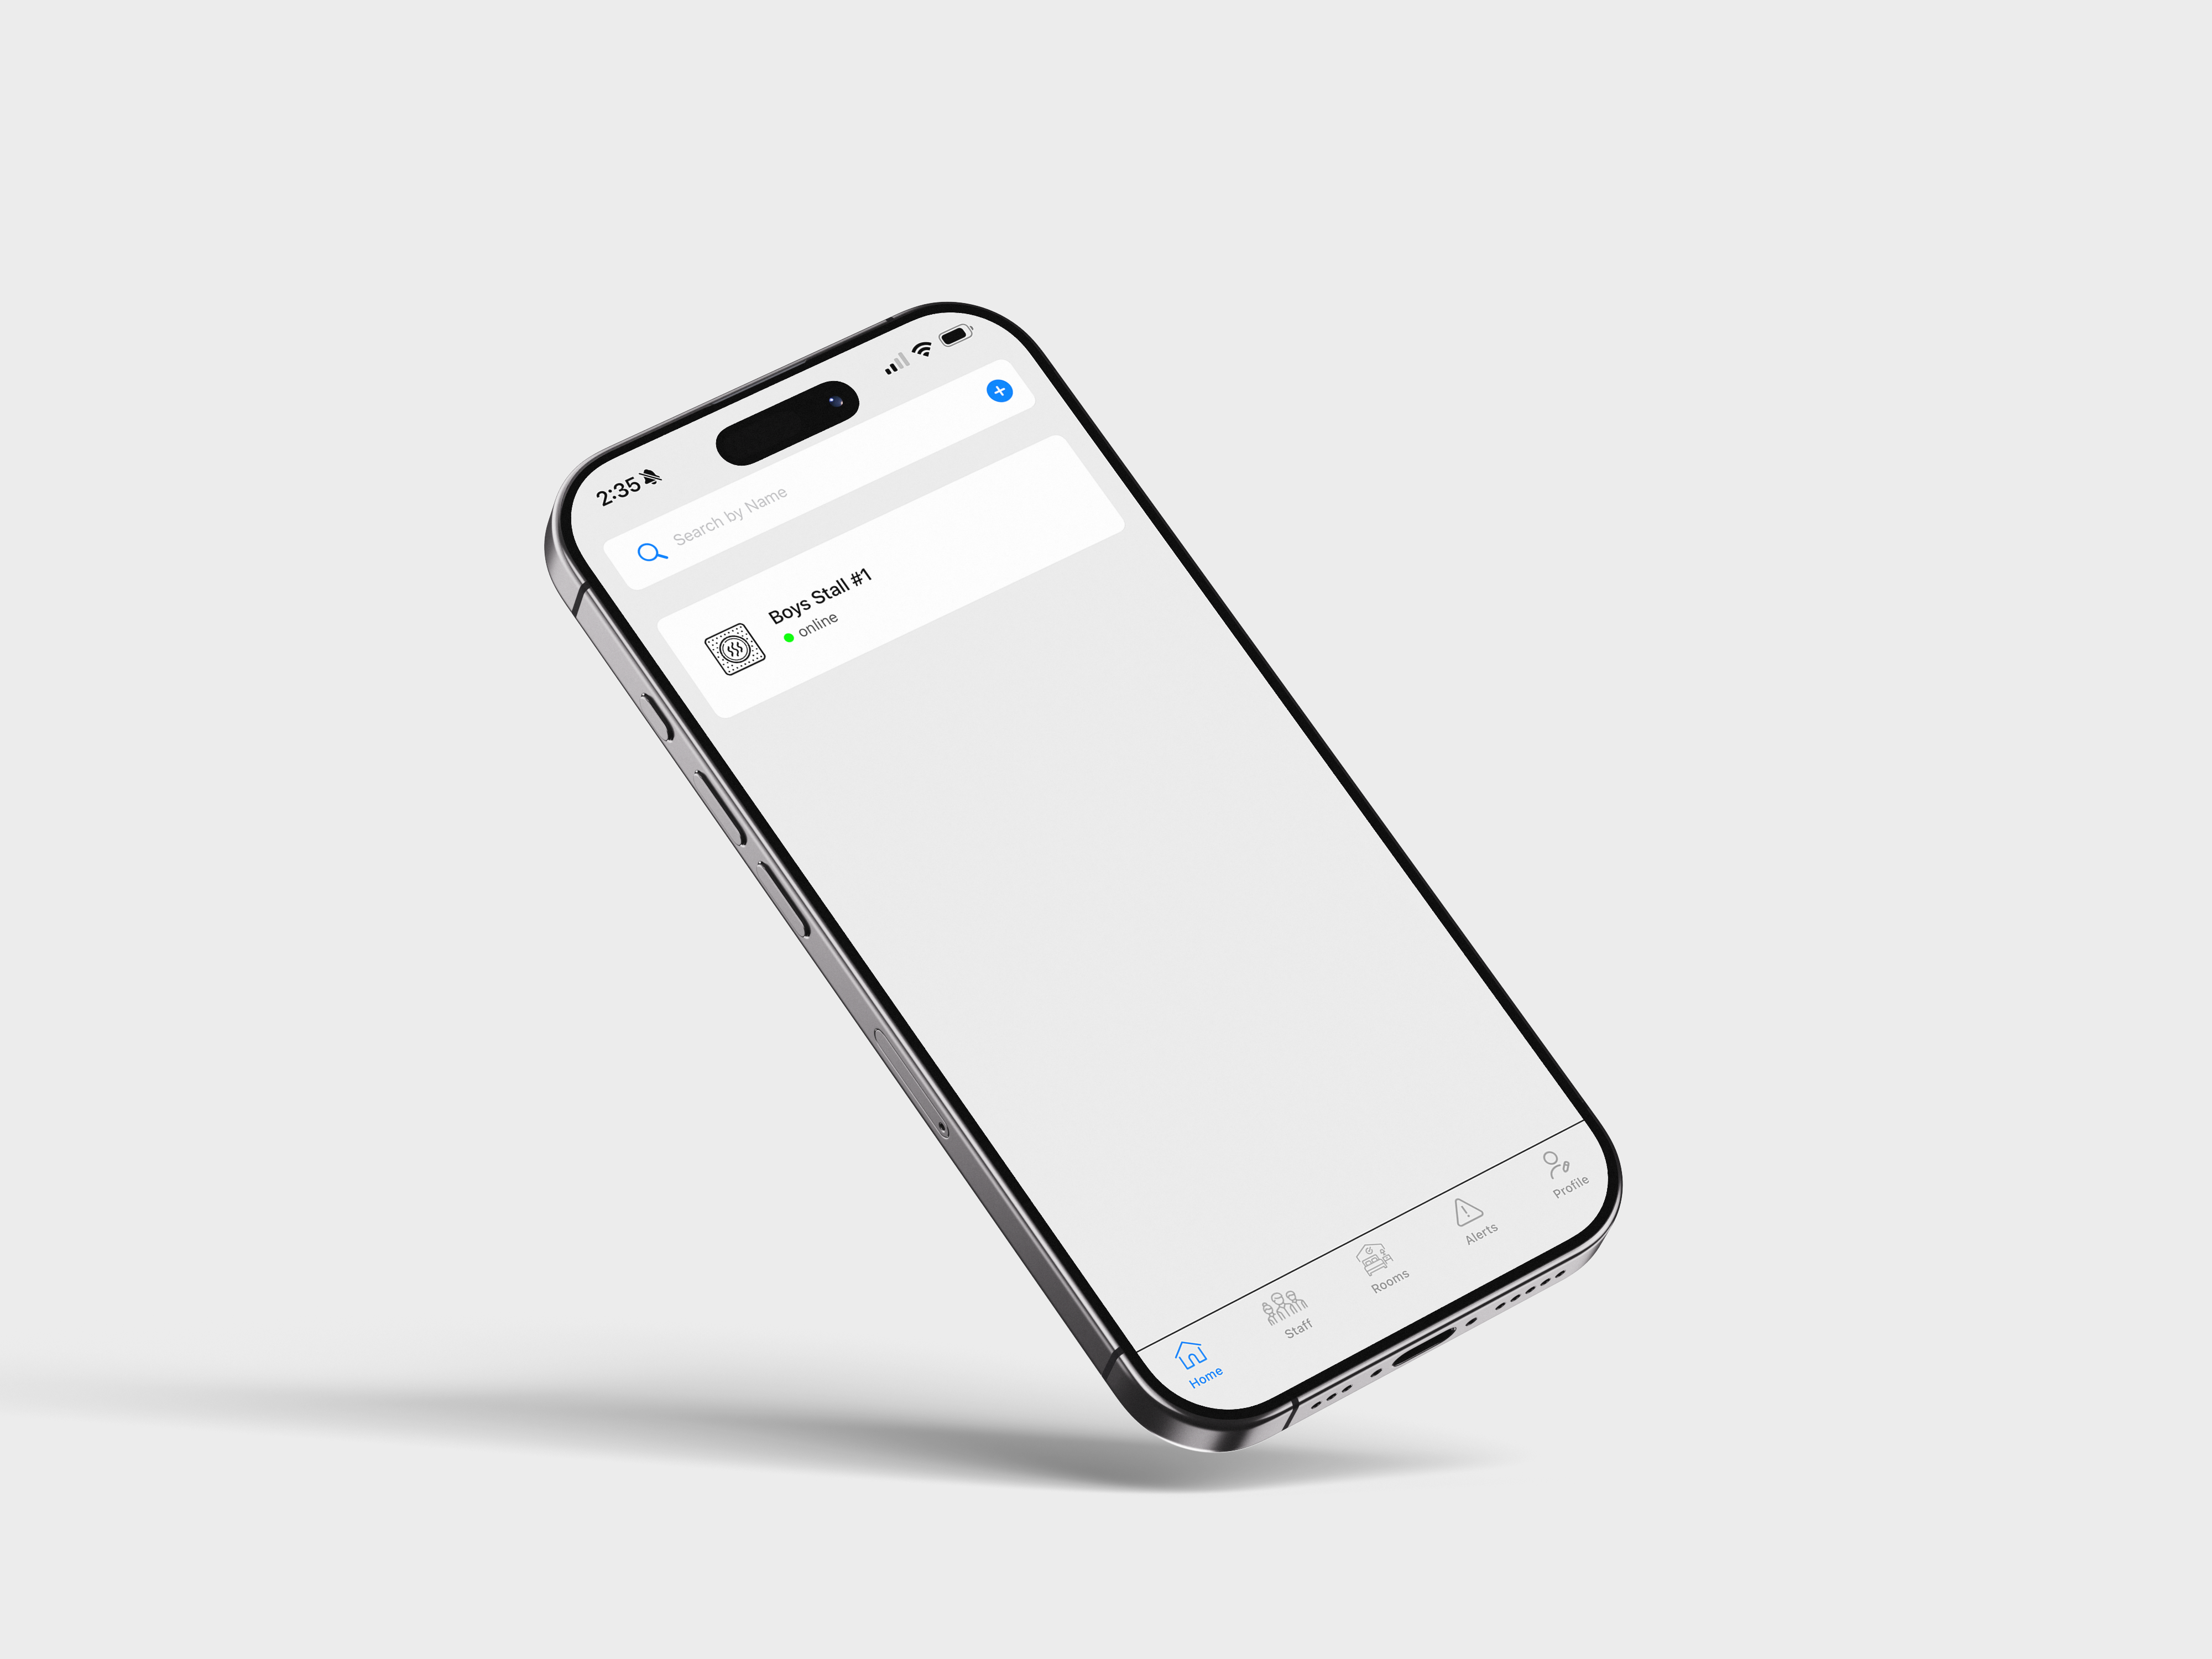
Step 3: Connecting the Device
Now it is time to open up the app and get your device linked to your Vape Guardian account.
FAQs
I can't login - because I forgot my username / password?
Please email us at enquiries@vapeguardian.com and a member of the team will be able to help you locate your credentials.
How do I identify which USB port my sensor is connected to?
1. Open the Add Device flow in the Vape Guardian app until you see the list of available USB ports.
2. Unplug the sensor: note which entry disappears from the list.
3. Plug it back in: select the entry that reappears—that’s your sensor.
4. If you see multiple similar entries: repeat the unplug/replug to confirm, then pick the one that consistently disappears/reappears with the sensor.
5. No change in the list?
- Try a different USB port on your computer/phone.
- Use a data-capable USB cable (some are charge-only).
- Avoid unpowered hubs; plug directly into the device.
6. Name clues (optional): look for entries like “USB Serial,” “CDC,” “CP210x,” “CH340,” or similar.
7. Still unsure? Email enquiries@vapeguardian.com with your OS, site name, and device serial/MAC—we’ll help you match it quickly.
Next..
Next up, we’ll switch to the Vape Guardian mobile app. Tap the link below for a quick, step-by-step guide on what to do.